Nothing would make you prouder than building something from scratch as a DIYer. This would give you a sense of victory as you have accomplished something that very few people could.
In this context, how about we show you how to make your own LED lights? At the moment, these fixtures are the in-thing mainly due to their affordability and energy-efficiency.
Keep in mind that the process is not the most straightforward, and it may be a while before you get whatever you are working for.
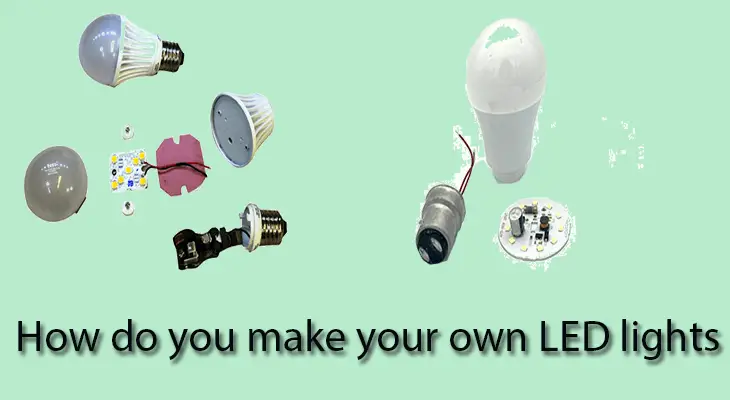
Items Needed for the Project
Here is a list of the equipment that you need to get the job done:
- 1/2” Wooden dowel rod
- LED strip lights
- End caps
- Frosted acrylic round tube
- 12V power adapter (with four-way splitter)
- Wire cutters
- Screwdriver
- Hot glue gun
- Soldering iron
The Building Process
Step 1: The first step is to ensure that the acrylic tube and wooden dowel rod are the same sizes. Here, you could either cut down the rod or shorten the tube until you attain equal sizes. After that, drill two small holes on both ends of the rod.
Step 2: Next, you have to ensure that your extension wire runs across the dowel rod tightly. Here, you should first cut the wire to be a few inches longer than the rod before taping one of its (wire) ends to the rod.
Be keen that the wire is tight against the rod, plus you should also leave some excess hanging off it.
Step 3: Now, detach your LED strip from the adhesive tape and embark on sticking it to the rod. Do not cover the entire rod and leave some of it exposed
Step 4: After that, strip one end of the extension wire before soldering it to the LED strip’s end. Ensure you follow the rule of black to negative and red to positive
Step 5: Head over to the excess wire on one end and strip it before connecting it to the 12V power adapter. With that complete, drill two holes at the center of your end caps that would be enough for M.1.2 screws to fit in.
Then, take a ¼” bit and use it to drill a large hole near the edges of one of the end caps.
Step 6: The last step involves inserting the wrapped wire dowel into the frosted acrylic tube. Attach the end caps while ensuring that the adapter goes through the larger hole. Wrap up the project by screwing the end caps to the holes on the dowel.
Also read: How to Change A 2-Pin Halogen Light Bulb (5 Easy Steps) & How to Hang a Shop Light in Your Garage, Warehouse and Office
Closing Remark
There you have it, your own LED lighting kit. If you thought the units on the market were cheap, how about this one that you built using your own funds and materials? The only problem you are likely to encounter is limited dimming capabilities, but that is something you can solve in due time.
Go ahead and enjoy your new creation, won’t you?

Here, I provide valuable insights into the lighting industry, drawing from 12 years of experience. My aim is to share useful and practical tips, life hacks, and comprehensive product reviews. I hope that collective expertise, advice, and recommendations prove beneficial to you.

