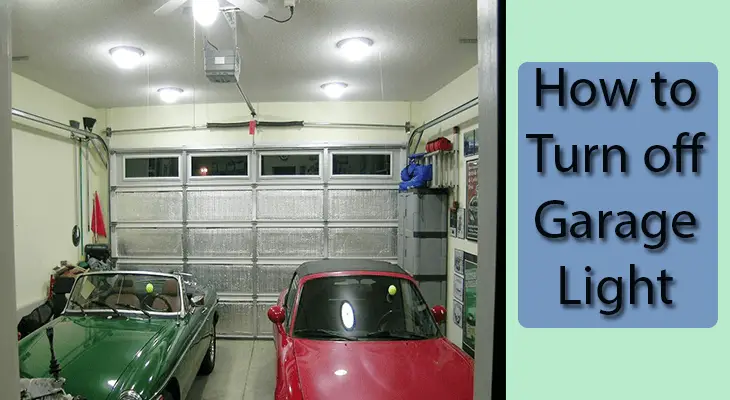
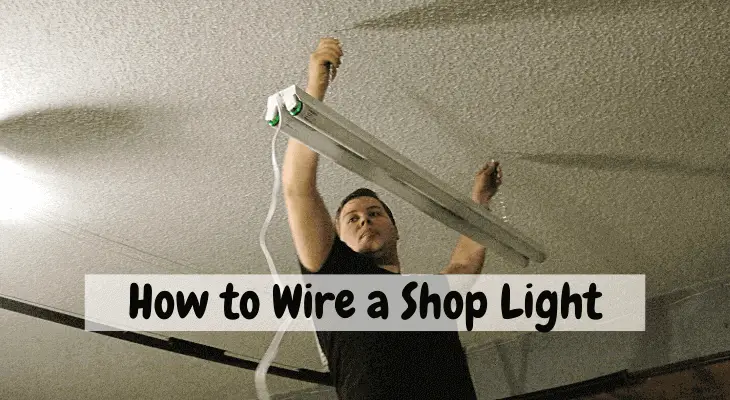
With a DIY project, you can upgrade the look of your space as well as save money. One of the DIY projects you can do involves flush mounting your shop lights. Of course, you will be dealing with electricity, and that can be a bit scary.
However, with the right instructions, the project can be a walk in the park. Here is how to go about it.
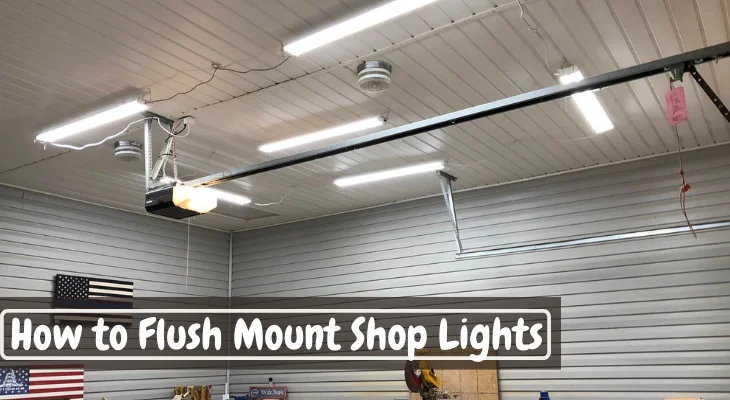
Flush Mount Shop Lights in 5 Simple Steps
Step 1: Turn the Power Off
The first thing you should always do when handling a project that involves electricity is to turn the power off. As such, you need to locate your breaker box and push the off button. This will turn off all the power in the room.
Step 2: Remove the Old Light
Now that the power is off, you want to remove your old 4 or 8 foot led light fixtures. Typically, you will have to detach the glass globe or cover by unscrewing the screws or a finial. After that, disconnect the wires and take the light out.
8 or 4 foot led light fixtures usually have two screws that secure the light to a mounting plate with a nut. You want to unscrew them and lower the fixture several inches. Once you do that, you will see a box with two thick wires. One will be white and the other black.
Step 3: Pull the Wires
What you want to do next is pull out the two wires and unscrew the wire nuts. To free the wires, you need to untwist them. There should be a third ground wire and if that is the case, you need to carefully unwind it.
If your fixture doesn’t have it, that’s fine because your new one will.
Anyway, the old fixture should at this point be completely disconnected so set it aside, detach the old base plate, and expose the wires inside.
Step 4: Wire the Flush Mount Shop Light
For this, you may need an extra pair of hands to help you hold the new fixture as you connect the wires. However, you first need to read the installation instructions for your new lights, as that will make your job easier.
Next, you want to attach it to the box with a central post or a couple of screws. Have someone else hold your light fixture several inches below the ceiling as you connect the wires.
Step 5: Connect the Wires
To connect the wires, identify an exposed copper wire that you will tightly twist along with the ends of the black and white wires we had mentioned earlier. After doing this, you want to cap the connection with a wire nut.
Next, you want to secure the base plate of your new fixture onto the ceiling box. Ensure that it fits snugly against your mounting surface.
Join the white wire from your fixture to the corresponding white one in the ceiling box. Once that is done, push them into the box. Next, join the orange/black wire from your fixture to the corresponding one and push it into the box as well.
Repeat the same process for the ground wire. Ensure that all the wires are inside the ceiling box and you have your flush-mounted shop lights.
Also read: How to Hang a Shop Light in Your Garage, Warehouse and Office
Final Sentence on Flush Mount Shop Lights
Flush mounting shop lights has never been easier!
Just follow these steps and refer to your light fixture manufacturer instructions to have an easier time and a flawless result.

Here, I provide valuable insights into the lighting industry, drawing from 12 years of experience. My aim is to share useful and practical tips, life hacks, and comprehensive product reviews. I hope that collective expertise, advice, and recommendations prove beneficial to you.