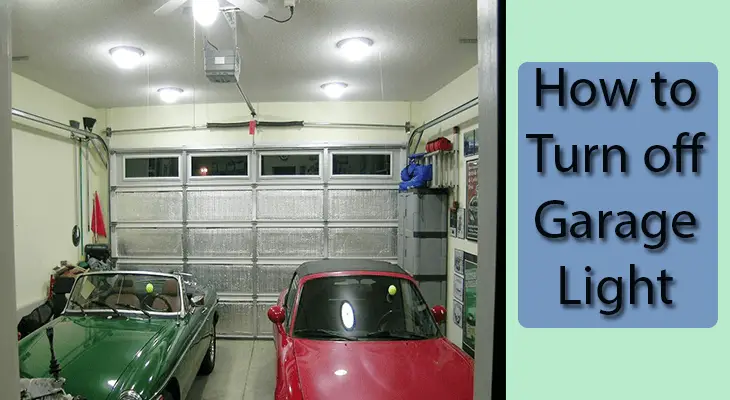
Your workshop is the one place that needs to have proper lighting otherwise; you will have to beat yourself up about avoidable mistakes. You can install a shop light but that also means that you will need to wire it.
This may sound a bit difficult but as you are about to find out, it is not. Why? Because we will give you all the steps, you need to follow to wire your shop light successfully. Let us get right into it.
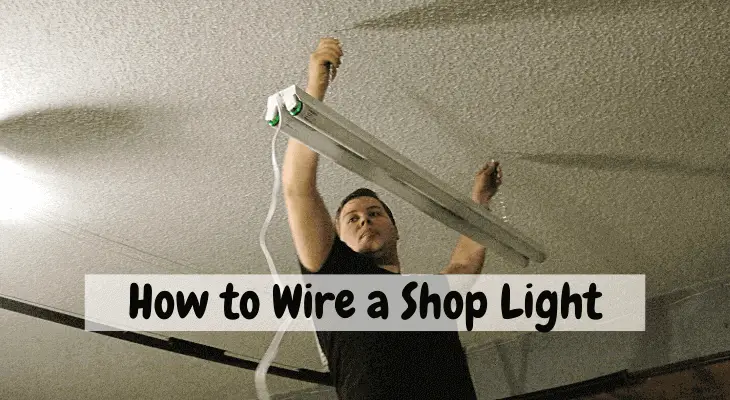
How to Wire a Shop Light: Step by Step
Step 1: Prepare
To prepare, you need to use two nails to install your switch box. The ideal location would be next to a stud with the front of the box flush facing the outer surface of the stud.
Step 2: Turn Off Power
Since you are dealing with electricity, you will need to first turn off the power to the circuit you will be tapping into. After that, take out the screws securing the receptacle in the box and pull out the outlet.
Step 3: Install a Cable Clamp
Next, you want to detach the knockout from each box or fixture and put a cable clamp in the hole. A knockout is a tiny easy-to-remove disc and to remove it, hold your screwdriver against it and thump it firmly to open the knockout. Use a pair of pliers to grasp it and twist it off.
After doing that, strip about six inches of sheath from both ends of the cable and insert the cable and wires into the box via the clamps until you get about half an inch of sheathing in the box.
You may love to read about How to Reset Outdoor Motion Sensor Lights and Why It Matters and How to Install Recessed Lighting Without Attic Access: The Best Way Out
Step 4: Start Wiring
At this point, you are ready to begin the wiring process so strip about ¾ inches of insulation from the white and black wires at each location except the receptacle and switch.
Step 5: Connect the Wires
Next, you want to join the ground wires at the light. Connect the ground wires at the light fixture, switch, and outlet by twisting them together and connecting them to the green grounding screw.
After that, you want to join the white wires at the switch and fixtures. Using a pair of pliers, twist the solid wires together and cap any stranded fixture wires using a wire nut.
Go back and repeat the same process with the black wires.
Step 6: Join the Terminal
At the switch, twist the ends of the two black wires to form a U shape. Place a single wire on each terminal and secure the screw. Next, you want to twist the black and white wire ends to form a U shape at the receptacle.
You may love to read another post about Best 6 Inch Light Bar Review and Guidelines and Best 8 Foot LED Garage Light Fixtures top 7 Picks
Step 7: Test the Connection
Join the bare ground wire to the corresponding bare ground wires located in the receptacle box. Secure the outlet and switch in their boxes using screws. Put the cover plates back and turn the power on to test the connection.
Final Thoughts
As you can see, wiring your shop lights is not as hard. However, it is important to note that electrical wiring exposes you to dangerous electrical currents so if you are not certain about working with electricity, it would be best to hire a professional to do the wiring for you.

Here, I provide valuable insights into the lighting industry, drawing from 12 years of experience. My aim is to share useful and practical tips, life hacks, and comprehensive product reviews. I hope that collective expertise, advice, and recommendations prove beneficial to you.