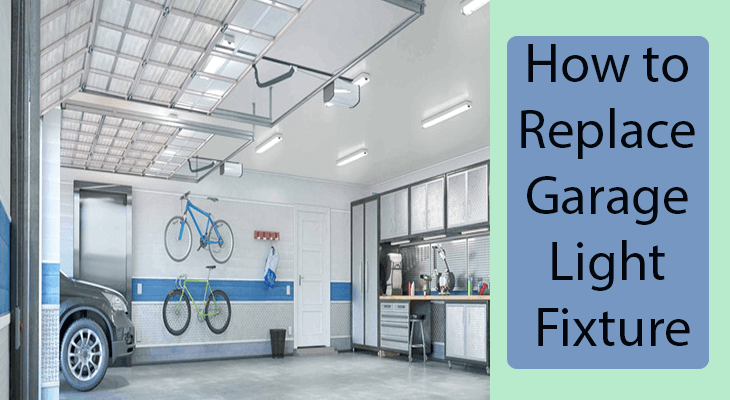
Are you in the category of people who tremble when the time comes to replace your garage’s or warehouse light fixture? It could be you are scared of electrical shocks or simply embarrassed that you will mess up the entire process.
Worry not, as that is the purpose of putting this piece together. Here, we shall provide you with a few tips that will boost your confidence in doing this procedure correctly.
Keep on reading, and you’ll be pleased with what you learn.
The Tools Needed
These are the tools that you’ll need to get the job done without any interruptions:
- Screwdriver
- Electrical tape
- Wire snips/connectors
- The light fixture with its mounting hardware
- Light bulb
The Procedure
With the above items in place, let’s now see the steps involved to get the replacement done correctly:
I)Turn off The Power
This isn’t rocket science, but you’d be surprised how easy it is to forget this step. Disconnect the power at the fuse box and only connect when you’re done with the job.
II) Unwrap the New Fixture
Next, unwrap the replacement fixture so that if it is not assembled, you can do so as per the instructions that it comes with.
III) The Mounting Hardware
If the new fixture came with its mounting hardware (it should), you should replace the old hardware with the new one. This is because there is likely to be a variation in the screw sizes and hole orientation.
But if the previous fixture used universal mounting hardware, you can rely on what the last fixture used.
IV) The Wiring
Next, look at the new fixture’s wires, where the ideal length of the bare end should lie between ¼” and ½.” And if they are not within this range, the wire strippers would come in handy to help you trim off wire insulation of similar length from each wire.
V) Replace The Old Fixture
Once you are done connecting the wires, you can now install the new fixture. Attach it to the mounting bracket in the hardware that it came with and then thread any knob onto the relevant screws.
Tighten the screws to secure the brackets fully, and you can use a silicone-based caulk and caulk gun to seal all the areas. And if the fixture did not come with a light bulb, this is the point where you insert one.
It is now safe to turn the power back on from the fuse box.
Also read: What Are Barn Lights? Where Should Barn Lights Be Placed? & LED Light Fixture Not Working – Troubleshooting Common Problems
Final Word
That was easy, wasn’t it? If you follow all the steps and tips to the letter, there is little chance of messing things up, and in the end, you will be pleased with your work.
And just like that, your workspace will not remain dark just because the current light fixture is beyond its usefulness.

Here, I provide valuable insights into the lighting industry, drawing from 12 years of experience. My aim is to share useful and practical tips, life hacks, and comprehensive product reviews. I hope that collective expertise, advice, and recommendations prove beneficial to you.

