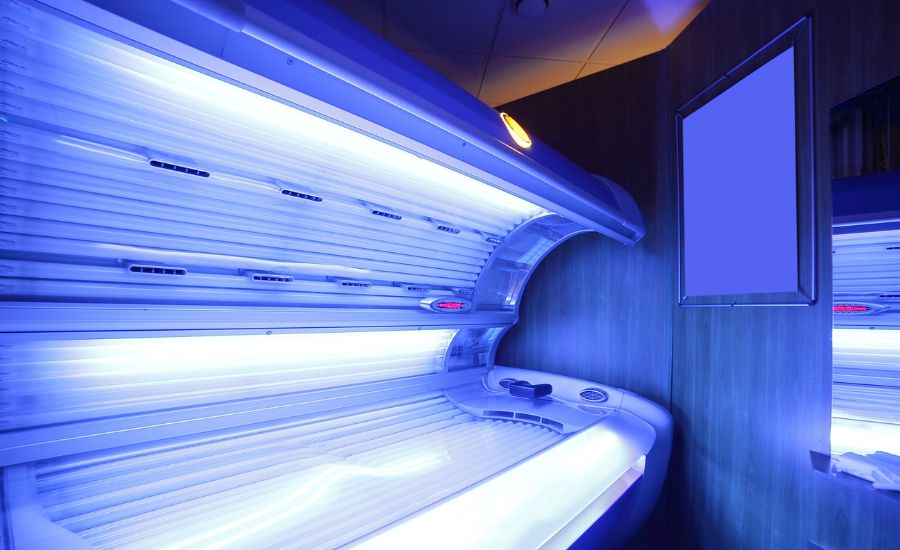
Changing the tanning bed bulbs is vital, especially if you have a tanning salon. These bulbs are central to the tanning process, emitting UV rays that stimulate melanin production in the skin.
In this comprehensive guide, we’ll walk you through the process of changing tanning bed bulbs step by step, while also providing essential tips to optimize your tanning beds and to help you change your own tanning bed lamps at home. Welcome to our guide on how to change tanning bed bulbs.

Step 1: Take materials
It is always recommended to replace your tanning bed lamps. Before you begin the process, it’s important to get all the necessary materials.
This includes replacement bulbs, gloves, a screwdriver, and a suitable cleaning solution.
Gloves provide protection, preventing oils from your skin from damaging the bulbs.
Cleaning materials like a glass cleaner or specialized bed cleaner maintain a clean environment for both tanning beds and the bulbs.
When purchasing replacement lamps, you should also invest in a bottle of specialized bed cleaner, which is cheaper but more effective than a traditional window cleaner. In addition, cleaning your tanning bed with chlorine, Windex, or a glass cleaner is not recommended.
Step 2: Ensure safety
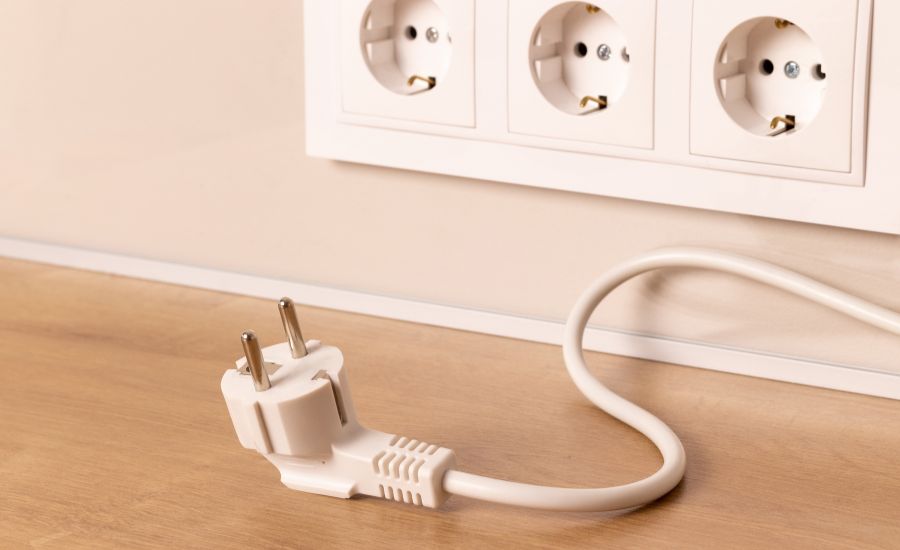
Begin by turning off the power supply to the tanning bed, and unplug it from the electrical outlet.
Safety should be your priority when you are just learning how to change tanning bed bulbs. Wear gloves to protect your hands during the process.
This step not only guards against cuts but also prevents oils from your skin from coming into contact with the bulbs.
Step 3: Power off and unplug
Confirm that the tanning bed is indeed powered off and disconnected from any power sources before proceeding further.
By taking this precaution, you ensure a secure environment before starting to replace tanning bed bulbs.
This step prevents any accidental activation of the tanning bed when you replace tanning bed bulbs.
With the power supply disconnected, you can surely focus on the task, knowing that you have answered the first question of how to change tanning bed bulbs.
Step 4: Access the tanning bulbs
Now it’s time to access the tanning bulbs for replacement. The process of accessing the tanning bulbs can vary depending on your tanning bed model.
Should your tanning bed be equipped with acrylic shields, these components might need to be temporarily removed to reach the tanning bulbs.
Remove the colored plastic strips on both sides of each acrylic.
The process of accessing the tanning lamps might differ based on the design of your tanning bed. Some tanning beds might require the removal of clips, screws, or fasteners.
It is important to determine the model of your tanning bed. When it comes to the Sunquest tanning bed, it requires Sunquest tanning bed bulbs that emit more UV rays.
If you have a home tanning bed, you should know that for home tanning beds instructions differ. As for Wolff’s tanning bed, you have to be ready to change the light bulbs.
So take your time to follow the manufacturer’s guidelines.
Step 5: Remove the old tanning bulbs
It’s time to say goodbye to the old bulbs.
Avoid putting too much pressure on the glass and gently take out the old bulb.
Always handle the old bulbs with care, especially if they’re warm from recent use. If the bulbs are damaged, be cautious to avoid glass fragments.
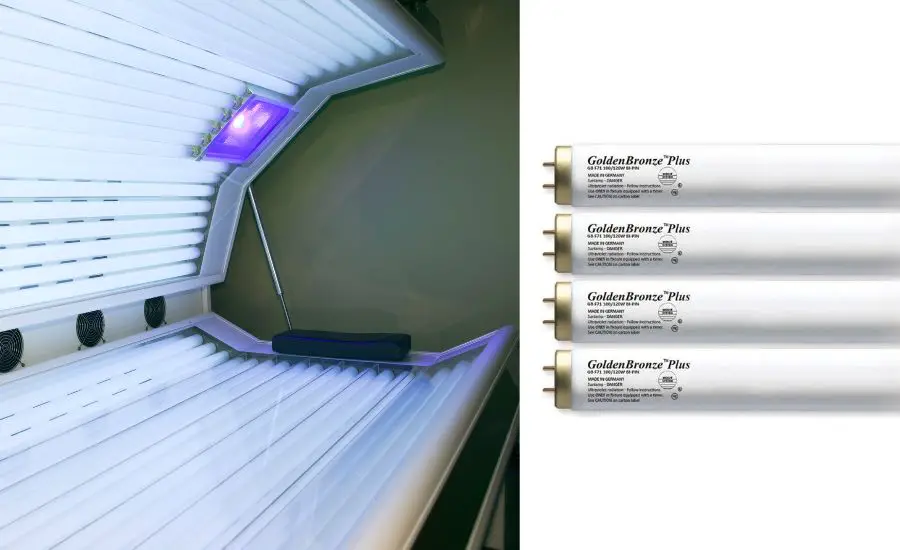
Step 6: Insert the new bulbs
Begin by aligning the new bulbs with the sockets, making sure they’re positioned correctly. Gently push the new bulb into the socket and give it a slight twist clockwise until this new bulb is snugly in place.
You should also distinguish between BI-Pin and RDC bulbs, which are two main types of connections.
Ensure you select the right bulb for your tanning bed because switching from Bi-Pin to RDC or vice versa isn’t a straightforward process.
Specific instructions can vary based on the type of tanning beds.
Step 7: Reassemble and test
With the new bulbs securely in their sockets, it’s time to bring back the light to your tanning bed. Carefully re-install any components you removed earlier, making sure they fit snugly.
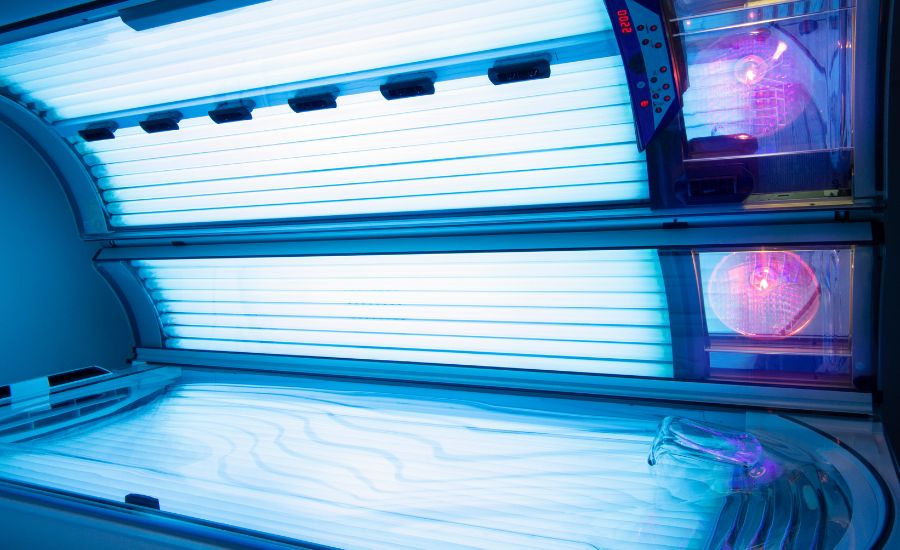
Once reassembled, it’s time to test it. Power on the tanning bed and check for uniform illumination across all the bulbs. Ensure there are no flickering or irregularities.
Confirm that they’re lighting up and emitting UV rays evenly across the bed.
This step is essential to confirm that the tanning bulbs are correctly placed and ready for optimal tanning sessions.
Step 8: Clean the bed and bulbs
Use glass cleaners to polish any glass surfaces and ensure unobstructed UV ray passage. For where you lie, use bed cleaner to maintain comfort and prevent residue buildup.
Cleanliness impacts also bulb longevity.
Dusty reflectors can hinder bulb performance. To remove a thin powder coating you should also clean your new tanning bulbs.
By keeping your tanning bed clean, you ensure that the ultraviolet rays are evenly distributed during your sessions.
How to ensure even UV distribution?
As you focus on enhancing your tanning experience, let’s delve into the significance of acrylic shields and plastic shielding.
The acrylic shield that covers the bulbs acts as a barrier to protect you from direct contact with the bulbs while allowing UV rays to pass through.
Similarly, any plastic shielding present in your tanning bed contributes to maintaining the uniformity of UV rays.
These components minimize also the risk of uneven tanning and hotspots.
Maintain UV output
Understanding how bulbs emit ultraviolet rays is important for a successful tanning session.
Regular and bronzing bulbs generate distinct wave emissions. UVA rays penetrate deeper, stimulating the production of bronze melanin, whereas UVB rays primarily influence the outer layers, triggering the formation of protective reddish melanin.
Hence, understanding your skin type and its sensitivity to tanning lamps is essential. It’s advisable to start with a shorter tanning session applying the appropriate level of tanning lotion and sun exposure to your skin.
The quickest way to get an uneven tan is to change out bulbs one at a time. This will result in some bulbs producing high levels of UV light.
If you are asking how to change tanning bed bulbs, know that it is advisable to change all the bulbs at one time.
How to extend the life of a tanning bulb?
Bulbs designed for peak performance offer maximum options. Follow these steps to prolong the lifespan of your tanning bed bulbs:
- Cool down. Allow a cool-off period before powering off.
- Clean regularly. Keep bulbs and beds clean for efficiency.
- Scheduled replacements. Plan regular changes.
- Avoid frequent On/Off. Minimize start-ups.
- Check connections. Ensure secure electrical connections.
How can I find replacement bulbs?
When it’s time to replace your tanning bed bulbs, you can find replacement lamps from various sources. Shop online for convenience. Follow these steps:
- Know your model. Identify your tanning bed’s model and bulb specs. For example, determine whether you need bronzing bulbs or regular tanning bulbs.
- Search trusted retailers. Find reputable online stores.
- Filter by compatibility. Choose a replacement bulb compatible with your model.
- Confirmation. Get order and tracking details.
By finding replacement lamps from reputable sources, you can prolong the lifespan of your tanning bed.
Routine maintenance
Keep in mind that regular maintenance prevents frequent changes in your tanning lamps.
- Inspect tanning bed lamps. Check for wear, and replace deteriorated ones.
- Clean acrylic shields. Ensure unobstructed UV rays.
- Secure connections and prevent disruptions.
- Dust and clean. Maintain UV output.
- Follow guidelines. The manufacturer’s recommendations matter.
Seek professional help
If you find yourself unsure, don’t hesitate to seek professional assistance.
Professional assistance becomes especially valuable if you encounter complex technical issues or if your tanning bed requires specialized maintenance that is beyond your expertise.
FAQ
The frequency of bulb replacement depends on the type of bulb and your usage patterns. As a general guideline, low-pressure bulbs may require replacement every 500-1000 hours of use, while high-pressure bulbs tend to have a longer lifespan.
The number of bulbs in a tanning bed can vary significantly based on the bed’s design and model.
Tanning beds typically range from 16 to 48 bulbs or more, offering a variety of tanning options.
Face bulbs in a tanning bed are often slightly stronger than body bulbs.
This design accounts for the face’s sensitivity to UV exposure, allowing for shorter exposure times while still achieving a balanced tan.
Facing hiccups while changing tanning lamps? Here’s how to handle it:
• Messy breaks. Handle broken bulbs with care. Clean with gloves and dispose of properly.
• Avoid pressure. Apply gentle, firm pressure to avoid damage.
• Component alignment. If misaligned, disassemble and reassemble carefully.
• Flickering bulbs. Secure bulbs and check connections.
• Uneven tanning. Adjust alignment and rotation for even results.
Conclusion
Most tanning beds need regular maintenance and timely bulb replacement. By following this guide, you can confidently change tanning bed bulbs while optimizing your tanning beds. Remember to prioritize safety, understand your skin’s needs, and practice moderation to achieve the perfect sun-kissed glow while maintaining your skin’s health.

Here, I provide valuable insights into the lighting industry, drawing from 12 years of experience. My aim is to share useful and practical tips, life hacks, and comprehensive product reviews. I hope that collective expertise, advice, and recommendations prove beneficial to you.