You will face many frustrations in the walk of life, one of them being your light bulb burning out. As if that’s not enough, you may have no idea how to change it, which is especially so with 2-pin halogen bulbs.
We understand that changing this type of lighting unit is not easy, so we have decided to put this piece together. Here, we shall provide you with a step-by-step guide on changing the light bulb in addition to the safety precautions to prevent you from getting hurt.
Take your time and read to the end.
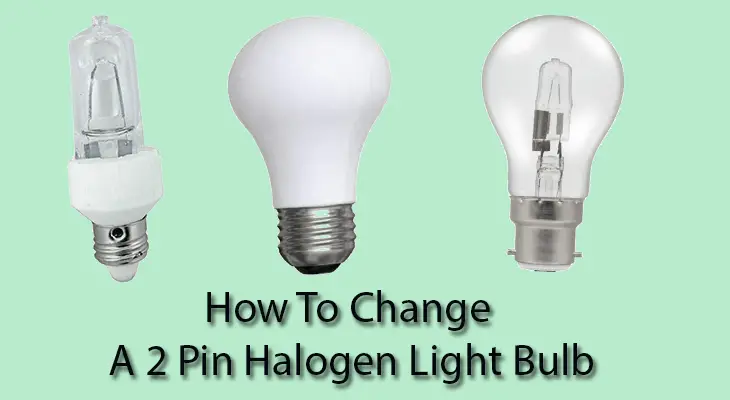
The 5 Easy Steps in Changing a 2-Pin Halogen Bulb
Here is a breakdown of the steps you need to follow to change your 2-pin halogen bulb successfully:
1. Safety First
You need to ensure that you come out of this bulb-changing process in one piece, and there are various ways of doing that. First, turn off the switch to minimize the chances of getting electrocuted.
Next, give the bulb time to cool off before touching it to avoid burning your fingers. You can confirm whether it is safe by moving your hands around the fixture and later on touching it gently.
If the bulb had been installed too high, a ladder would be your best friend to reach it. Always have someone to hold it for you.
Lastly, a pair of gloves would help you handle the bulb better even when your hands get sweaty.
2. Take off the Lamp Cover
Here, you only have to use your hands to unscrew or unclip the lamp cover.
3. Unscrew the Bulb
Next up is a step where you have to be particularly watchful of everything. Press the bulb gently into the socket before rotating it anti-clockwise direction. How do you know that the pins have been unscrewed completely?
You will know this when you feel the rotation has reached its end.
Another thing is that you should maintain a strong grip throughout the process not to damage your lighting unit.
4. Install a New Bulb
With the old unit out of the way, unwrap its replacement and fit it into the socket. Do the opposite of what you did to remove the old bulb, i.e., press it inward and rotate it clockwise until you feel the movement is not happening anymore.
This should tell you that the bulb is locked in place and ready for use.
You may love to read more articles of us on: How to Hang Rope Lights on A Wall Without Nails & The 7 Best H8 Fog Light Bulb
5. Final Confirmation
Lastly, you have to check that the bulb is working correctly, and this is by simply turning on the switch. If the bulb doesn’t light, turn off the switch again and repeat the entire process until you get it right.
I hope this tutorial article on how to change a 2-pin Halogen light bulb will help you to change your bulbs.

Here, I provide valuable insights into the lighting industry, drawing from 12 years of experience. My aim is to share useful and practical tips, life hacks, and comprehensive product reviews. I hope that collective expertise, advice, and recommendations prove beneficial to you.